How to create a HorizontalGrid Environment for your tracking area
There are two types of HorizontalGrid Environment: floor and ceiling. Use the Environments tab in the AntilatencyService app to create or edit an Environment.
Table of contents
The process of HorizontalGrid Environment creation is shown in details in our video.
AntilatencyService contains the presets with optimal parameter values for the basic types of the HorizontalGrid Environment. It's enough to select a preset and specify the tracking area size
(field width and field height).Use the
yellow preset to create the default floor tracking area or the ceiling preset for the default ceiling tracking area. The truss preset is used to create the truss tracking area.In case the standard presets don't suit you, you can adjust the Environment settings manually.
After selecting the HorizontalGrid Environment preset, press
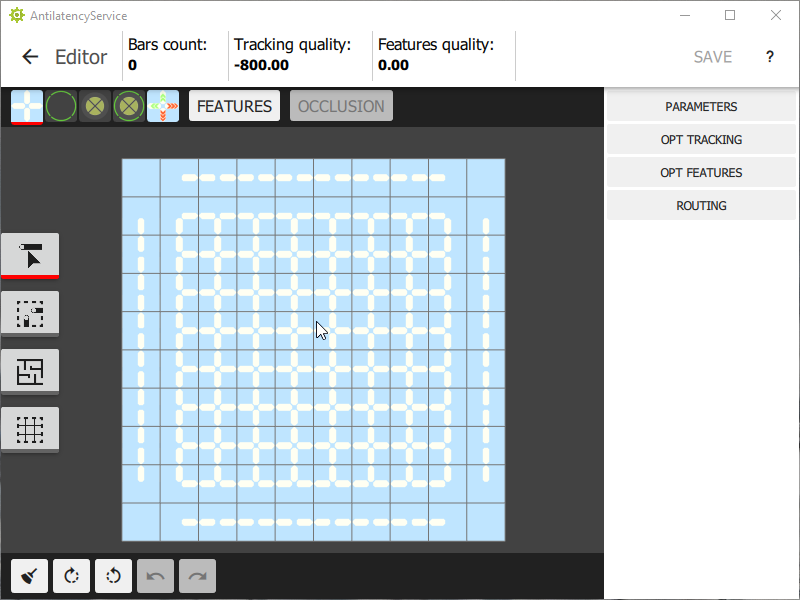
Finish to create a new layout and enter into Environment edit mode.Reference bars deployment
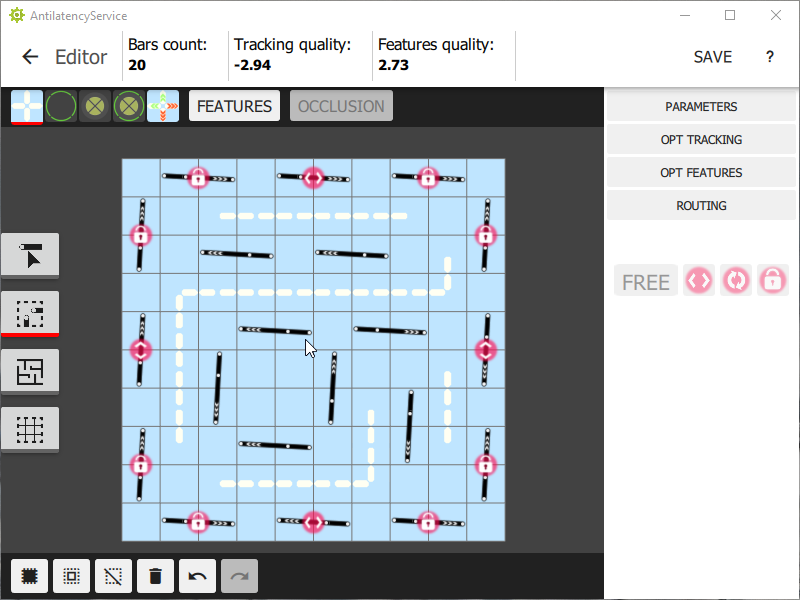
Environment editor is a tool that allows configuring Environment parameters, positioning reference bars and analyzing the quality of a tracking area.
When creating a new Environment, take into account the characteristics of the room, which can affect the visibility of IR markers. If your room has interior walls and partitions, please note to this section. If there are columns and other occlusions, as well as when installing a truss tracking area, it is necessary to use lock cells.
To cover the entire perimeter of the tracking area, we recommend placing the first reference bars manually in the corners of the area, as shown in the example below. Vertical bars are directed upwards, and horizontal bars — to the right. Thus, we get 4 initial features.
Switch to multiple selection mode and assign the
lock state values to the corner reference bars. Now, during subsequent optimization, their position will remain unchanged.
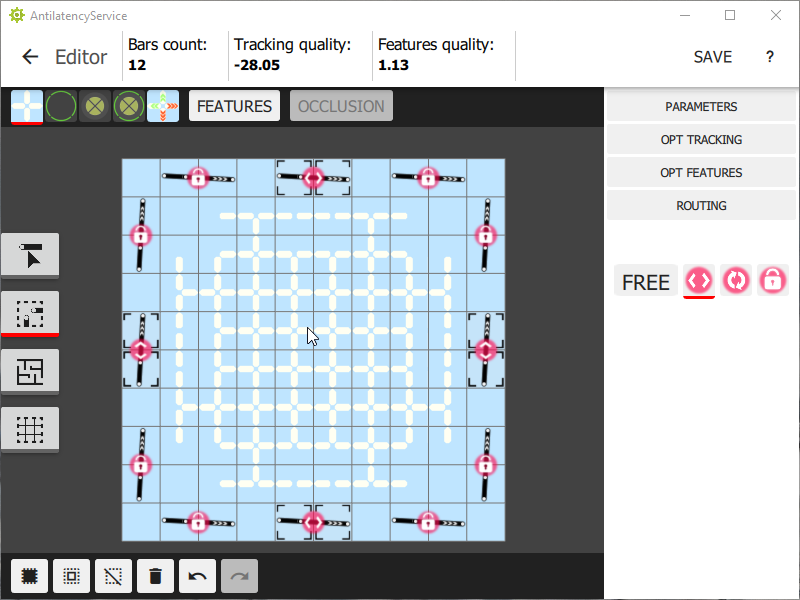
In addition to corner reference bars, you can manually set some reference bars around the perimeter of the tracking area. Fix their position with the
free along button as shown below. It allows the reference bars to rotate by 180° during the optimization and move along the line of their direction.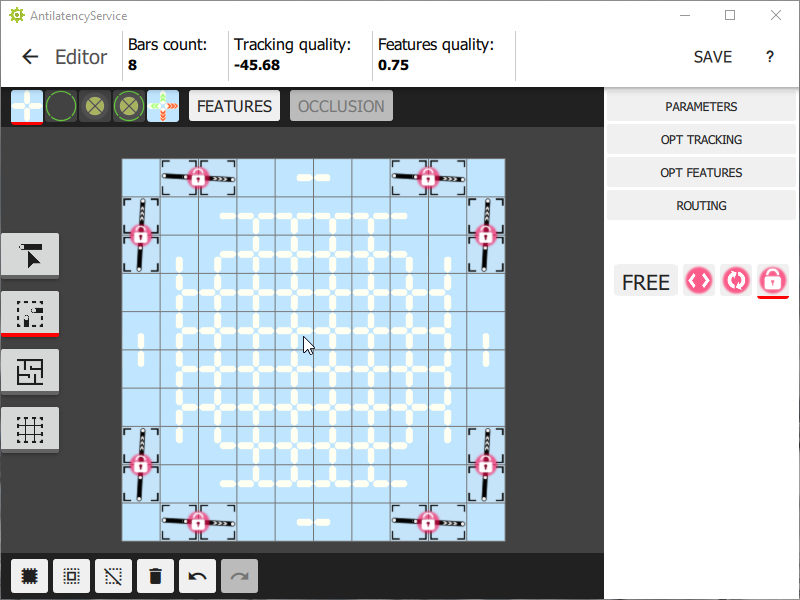
Tracking quality optimization and automatic distribution of reference bars
It is able to distribute reference bars manually across the Environment layout. However, it is more convenient to use the automatic placement. To do this, enter to the
Opt Tracking tab and set the bars count, based on the default set: 4 reference bars per 10 m² of the tracking area. After that press the Optimize button. At this stage the reference bars are equally distributed in the layout. When the optimizer is finished, return to the editor.Negative numbers of «Tracking quality» on the panel at the top of the window are simply values in conventional logarithmic units, not "bad tracking". An increasing value of this metric indicates an improvement in the quality of tracking.
Optimization and automatic generation of features
Next, you need to optimize the quality of the features. To do this, enter to the
Opt Features tab and set the tracking quality parameter to at least 99%. It is necessary in order to ensure the maximum density of the reference bars. Then we press the button Optimize. The computer will start creating unique patterns, and the process itself will be accompanied by changes of the indicators. The best 20 Environment layouts are displayed at the bottom, and their quality relative to each other is shown at the top.After the indicators stop changing and the time of the last layout change exceeds 2 minutes, you need to manually complete the optimization and apply the changes.
Environment checking and saving
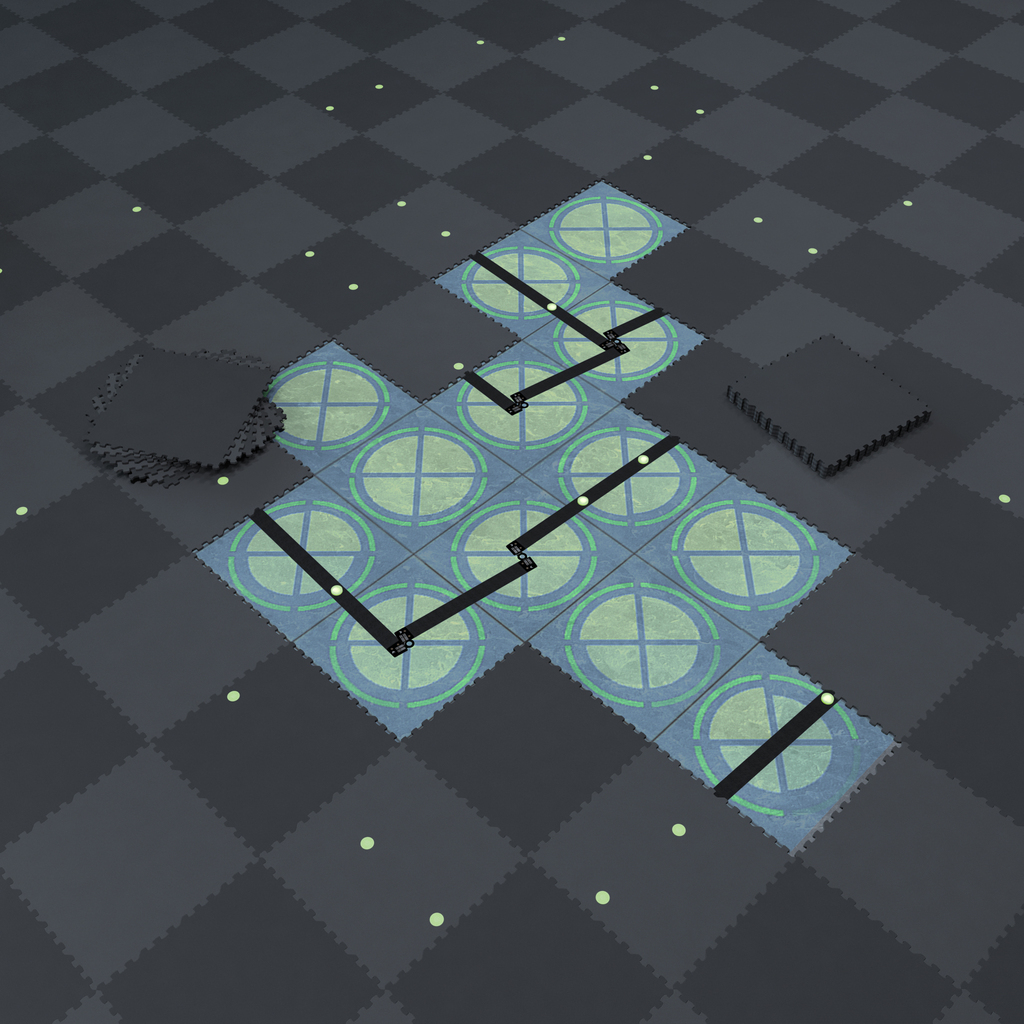
Now we can evaluate the quality of features and tracking on the prepared Environment layout. Let's switch to feature visibility mode. The longer is the arc in the cell, the faster the tracker will be able to determine its location if the IR markers disappear from its visibility area.
After that, let's switch to the tracking stability viewing mode. The larger are the segments of the circle in the cell, the more accurately the tracker will determine its location, depending on the direction.

For more information about the quality of the HorizontalGrid Environment and how to change it, see the section.
Next, let's save the Environment and move on to the next step — creating a connection route. After that, you can start assembling the created tracking area.
Creating a custom Environment
If it's necessary, you can create a custom Environment. To do this, you need to configure the following parameters:
- cell size;
- bar length;
- bar offset relative to the center of the cells;
- bar slope, i.e. the angle between the bar and the cell edge;
- bar proportion, i.e. the relative position of IR markers in the reference bar.
Warning! We suggest using the standard presets. When you create a custom Environment, you take responsibility for the operation of the tracking area. Make sure to contact our support team to check the custom Environment before installing the tracking area.