How to install Antilatency SDK to Unity
This is a short instruction on how to install Antilatency SDK to your project using Unity Package Manager
In this article
To install Antilatency SDK (Releases), go to the configurator page, select the Unity version and the libraries you need. If you are not sure which libraries and components you need exactly, you can learn about them in the “Antilatency libraries” section.
Press
Generate button and wait for the server to build the subset of Antilatency SDK. When the SDK package is ready, click Download: you will be redirected to the GitHub repository page. The next steps depend on the installation method and the Unity version you use.If the selected SDK subset is already prepared and available on GitHub, you will immediately see the
Download buttonInstalling using the Git URL
If you are using Unity version 2019 or later, and you have Git installed and configured on your system, the easiest way to add the Antilatency SDK to your project is to install it directly from the GitHub repository by using the Unity Package Manager. If you don't have Git, install it or use the non-Git method.
Go to the GitHub repository page of the generated SDK subset, copy the link for Unity Package Manager at the beginning of README.md section.
Open your Unity project and go to the Package Manager window (
Window ⇾ Package Manager menu item).Click
+, select Add package from git URL, paste the link and click Add.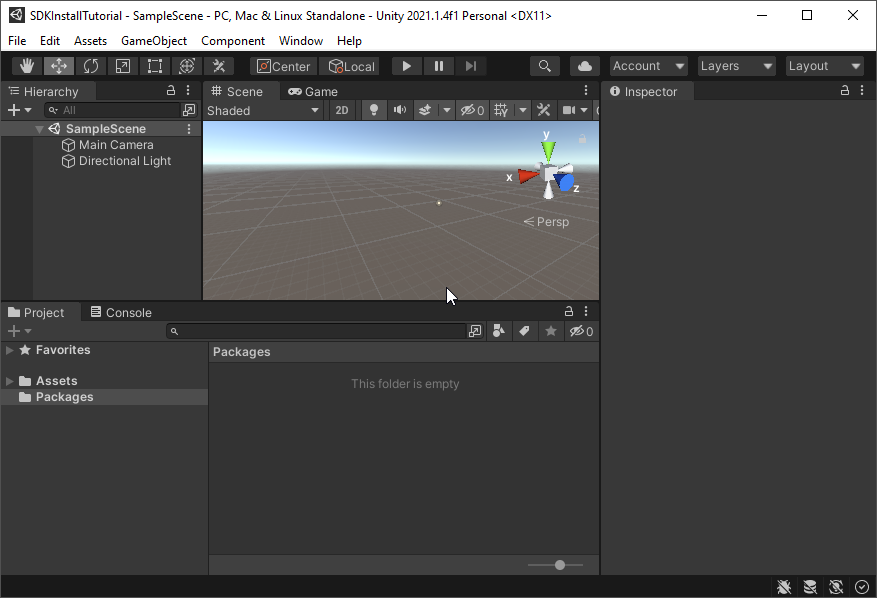
Wait until the package is downloaded and installed in your project.
Success! The item "Antilatency SDK" should appear in the list of installed project packages and in the "Packages" section.
If you have received an error like No 'git' executable was found..., you can use this solution
You can read more about installing from the Git URL here
Installing the package from a local disk
This method is also suitable for Unity version without Git support.
Firstly, download the SDK package to your local disk: open the GitHub repository page of the generated SDK subset, download and unzip the archive of the current branch.
Open your Unity project and go to the Package Manager window (
Window ⇾ Package Manager menu item).Add the SDK using the Package Manager (
+ ⇾ Add package from disk, then select package.json in the subset folder).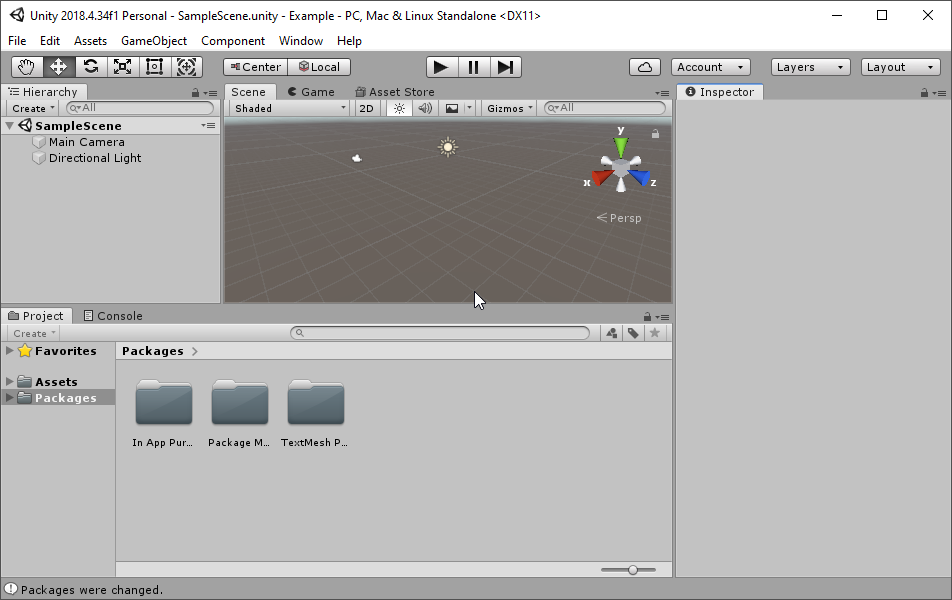
You can read more about installing packages from a local folder here
Wait until Package Manager finishes downloading and importing the package to your project.
Success! You may check the installed package in the Package Manager window and in the "Packages" folder in the project window.
How to change the Antilatency SDK subset
If you want to update the subset or change components after you have already added the SDK to your project, then you should reassemble the subset and reinstall it to Unity.
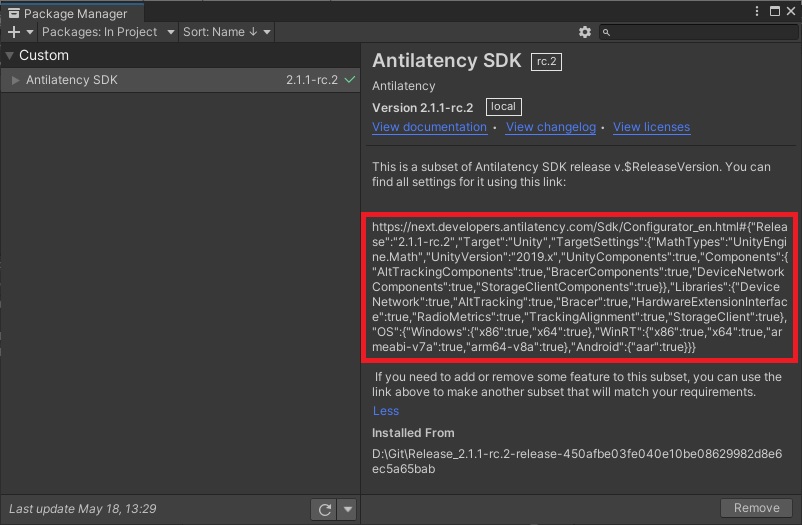
To quickly create a new subset based on the already installed one, open Unity Package Manager, find the Antilatency SDK package description, copy the link to your browser and configure the new build.
This link can also be found in the file README.md inside the Antilatency SDK package
Use the SDK configurator to generate a new Antilatency SDK subset, remove the old package from the project, and install the new one instead.
How to use the Antilatency SDK in the Unity project
After completing the above mentioned steps to install the SDK, the Antilatency system is ready to work in your project. Let’s review a simple use case, where we track the position of the cylinder on the scene.
- Let’s create an empty object that will store information about the tracking area. Name it
Environmentand add theAltEnvironmentscript to it, which is located atAntilatency SDK⇾Runtime⇾Modules⇾AltEnvironment. This script gets data about the tracking area, which is set in Environments by default: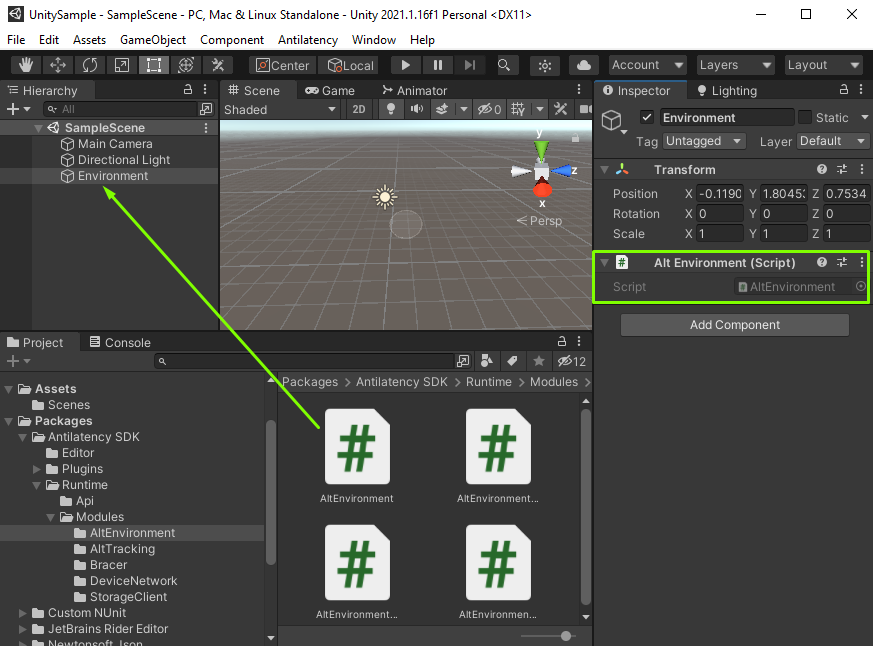
- Create another empty object that will store information about the connected Antilatency devices. Name this object
Networkand add the scriptDeviceNetworkto it: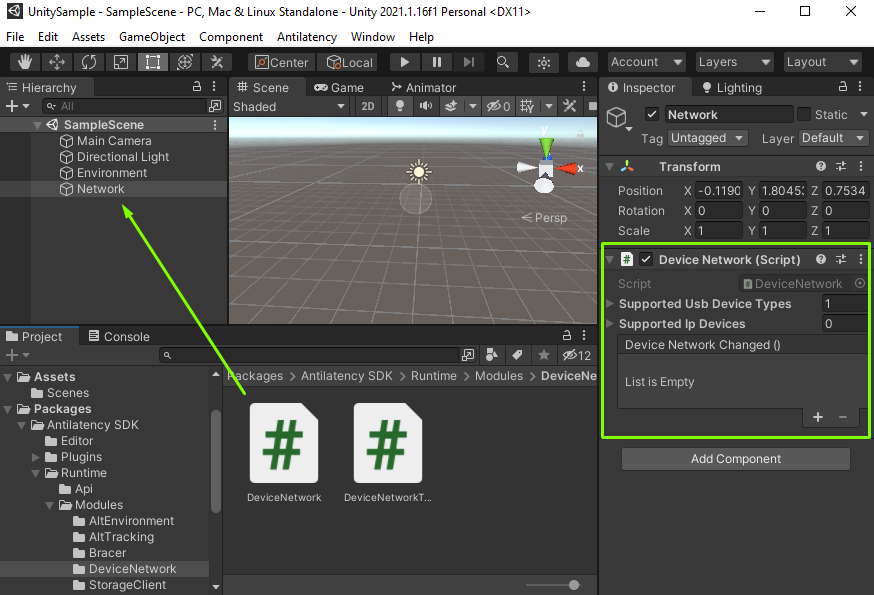
- Now let's create an object that will be tracked — a cylinder, for example. You need to add a tracking script to it. For this example, we’ll use the
AltTrackingDirectscript, which searches for the first available Alt and, if it finds it, starts the tracking Task on the tracker.This script is rarely used in real projects. The most commonly used script isAltTrackingTagscript, that distinguishes tracked objects by the socket’s tag, orAltTrackingUsbSocket, which starts the tracking process on devices connected via USB. - The tracking script needs to get information about the Environment and available devices. To do this, we pass the objects that we’ve prepared in steps #1-2 as parameters:
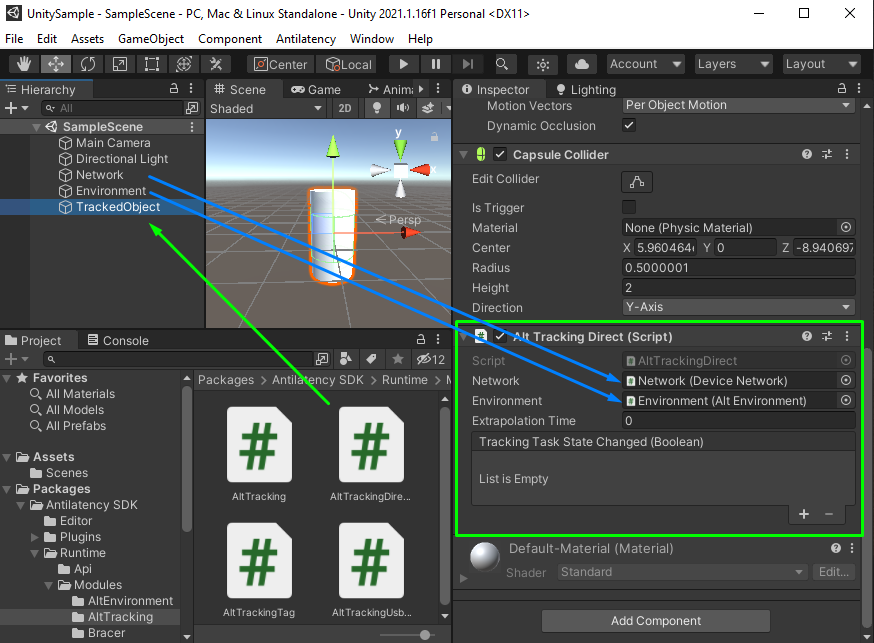
- Done! After launching the application, the cylinder on the scene will be tracked by the tracker.
More complex Unity samples using the Antilatency system can be found here: Samples.