Prepare an SD card image for Raspberry Pi
A step-by-step instruction to create a microSD card with OS image for Raspberry Pi.
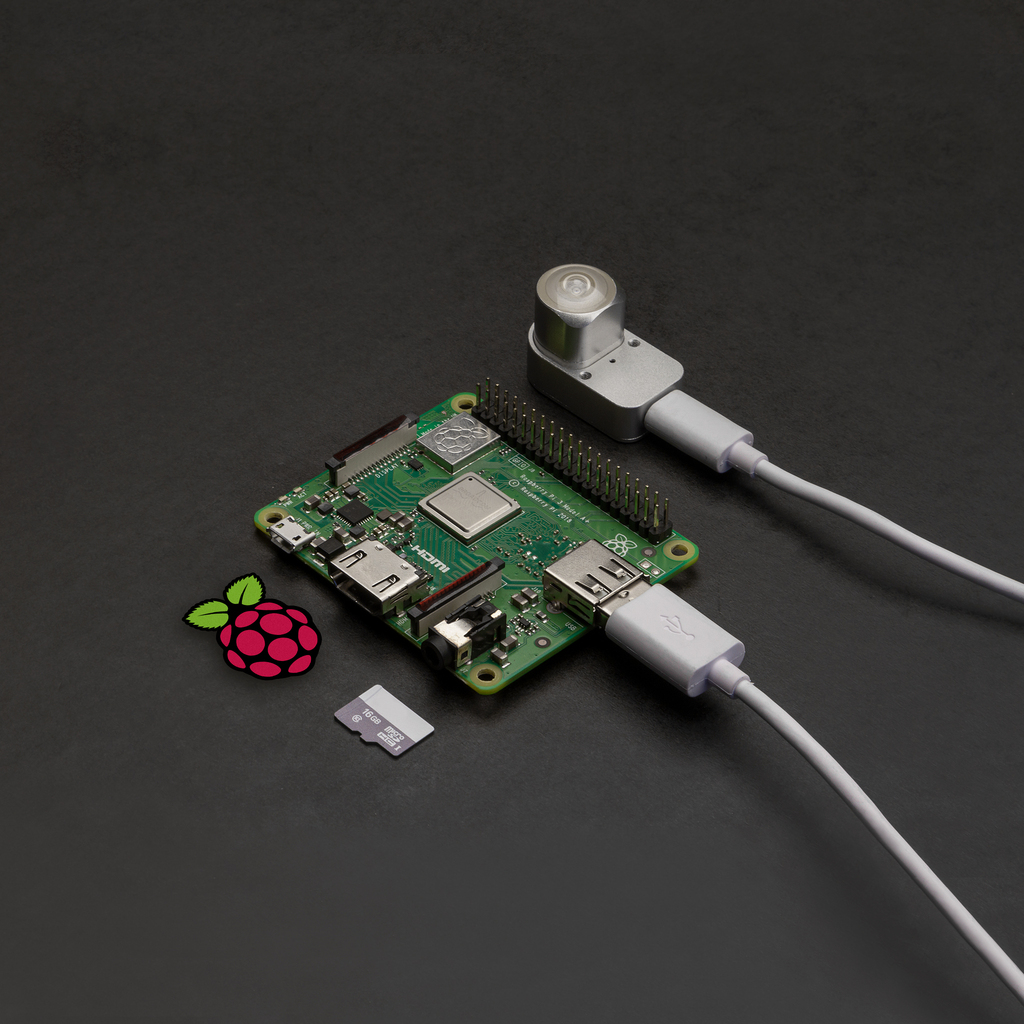
Complete the following steps to prepare a microSD card with OS image for Raspberry Pi:
Downloading and installing the OS
To work with Raspberry Pi you need an operating system (OS) that is stored on a microSD card.
Here’s how to install the most downloaded OS Raspberry Pi OS with a desktop.
We do not insist on this particular OS, as there are other alternatives, and developers are free to choose the OS according to their preferences and requirements. For instance, if you want an OS without a graphical interface, use Raspberry Pi OS Lite.
Raspberry Pi OS (previously called Raspbian) is an officially supported operating system by the Raspberry Pi Foundation, it is based on Debian GNU/Linux.
To write SD cards, start by downloading and installing the latest version of the Raspberry Pi Imager program. This program is featured in Raspberry Pi documentation. Then:
- insert the microSD card into the card reader that is connected to the PC,
- open a Raspberry Pi Imager and format the microSD card,
- choose the OS you want from the list,
- choose the microSD card you want to write to,
- click on the Write button to begin writing data to the SD Card.
Wireless setup
To get remote access, you need to:
- enable the SSH server,
- write the Wi-Fi network name and password to the Raspberry Pi microSD card.
Create two files:
ssh and wpa_supplicant.conf in the /boot directory on the microSD card. Adding files to this folder will activate the configuration functions, when Raspberry Pi boots for the first time.For example, with an
ssh file, SSH will be enabled on boot. The contents of the file do not matter, it can be empty. SSH is otherwise disabled by default.You will need to define a
wpa_supplicant.conf file for your particular wireless network. Put this file into the /boot directory of the SD card. Change the country code and network part depending on your case.A
wpa_supplicant.conf file example:ctrl_interface=DIR=/var/run/wpa_supplicant GROUP=netdev country=<Insert 2 letter ISO 3166-1 country code here> update_config=1 network = { ssid = "<Name of your wireless LAN>" psk = "<Password for your wireless LAN>" }
Refer to this manual for more information on how to use
wpa_supplicant.conf file.Now remove the microSD card from the card reader and insert it into the Raspberry Pi. Connect a monitor, a keyboard, a power supply with connected a USB cable, wait for the system boot and go on to the next step.
Update installed software
After the update, Raspberry Pi will work safely and with optimal performance. Open the terminal window and enter:
sudo apt update && sudo apt full-upgrade
The
apt update command updates the list of packages, and the apt full-upgrade command installs packages with dependencies.MicroSD card with Raspberry Pi OS is ready.
This instruction complements the "Tracking: a C++ demo app for Raspberry Pi" manual, which describes a C++ console app that displays tracking on Raspberry Pi using Antilatency libraries.