Tracking: a C++ demo app for Raspberry Pi
C++ console app that displays tracking on Raspberry Pi using Antilatency libraries.
You need
- A Raspberry Pi 3 or 4 single board computer.
- A microSD card with installed operating system (OS). We recommend you read the manual "Prepare an SD card image for Raspberry Pi".
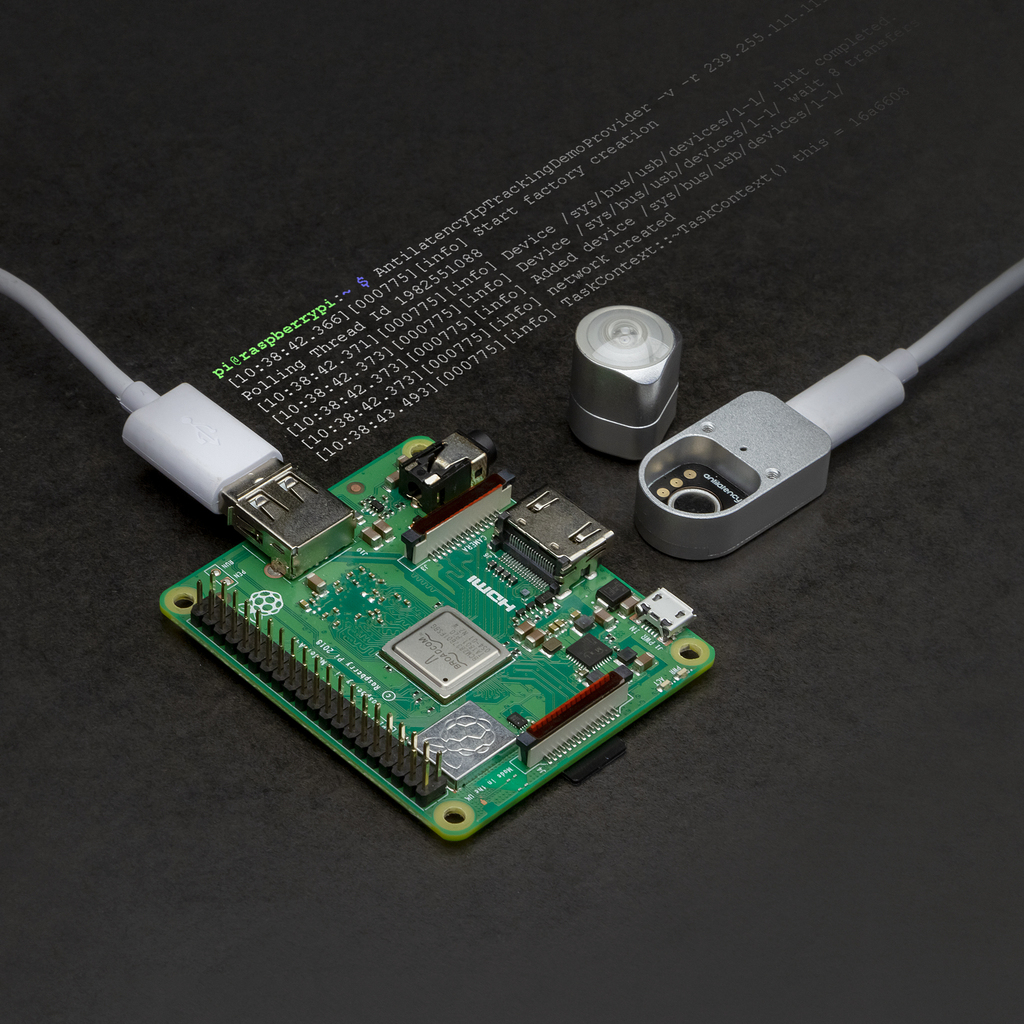
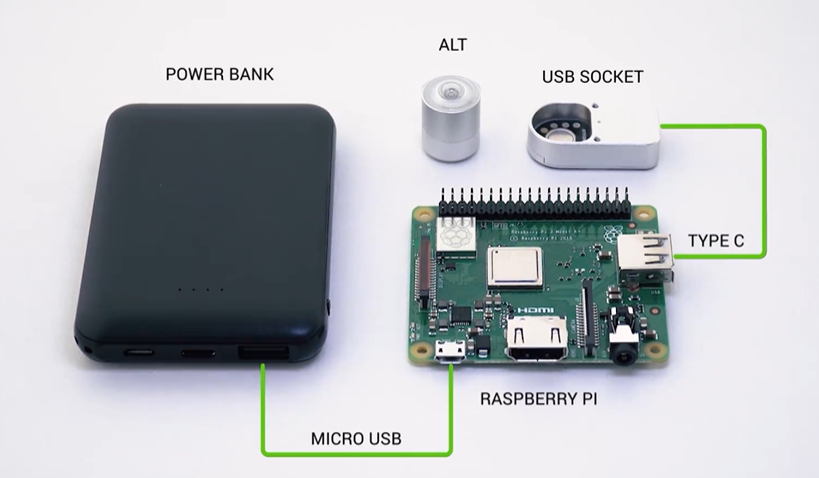
- A pair of Antilatency devices: an Alt and a Wired USB Socket.
- A computer with Windows 10 and installed AntilatencyService.
- An properly assembled tracking area. Appropriate to her Environmentshould be added to AntilatencyService and set to default.
- Optional: a monitor, a keyboard, a mouse, a USB hub, a power bank, a case for Raspberry Pi.
How to compile and run an app
Let’s start. Insert a microSD card with the OS image into Raspberry Pi. Place the board into a case to avoid accidental damage. Connect the keyboard and the mouse to the board through available USB ports. If you have a model A+ and there are not enough USB ports, use a USB Hub. Connect the monitor via HDMI and a Wired USB Socket along with an Alt via USB Type-C to Raspberry Pi. Connect power supply or a power bank to Raspberry Pi. To eliminate power issues, use the "official power supply" or a power bank that complies with the technical requirements. Wait for the system to boot.
Raspberry Pi is ready to work.
You do not have to use the monitor, keyboard and mouse, but can manage Raspberry Pi remotely via the SSH client, for example PuTTY. To connect, you need to specify Raspberry Pi IP address. You can find the Raspberry Pi IP address using a third-party software, that scans the entire network. For example, Advanced IP Scanner.
Make a project directory in the file system. Select it.
cd <full path to project directory>
mkdir <project directory>
cd .<project directory>
For example,
cd /home/pi
mkdir TrackingMinimalDemoCpp
cd ./TrackingMinimalDemoCpp
Clone the repository from Github:
git clone --recurse-submodules https://github.com/antilatency/Antilatency.TrackingMinimalDemoCppPlease note, there is a Git submodule in the repository. Don’t forget to specify
--recurse-submodules for connecting the Sdk release to the project.Create a directory for the executable file.
cd ./TrackingMinimalDemoCpp/Antilatency.TrackingMinimalDemoCpp
mkdir build
cd ./build
Сompile and run a project from the terminal:
cmake ../
make
You will need CMake to compile. If you don’t have it installed, run a
sudo apt install cmake command to install it.The
./build directory now contains the executable file TrackingMinimalDemo and libraries.During launch, the executable file
TrackingMinimalDemo expects two arguments: Environment data as the first argument and Placement data as the second argument. Both arguments can be derived from AntilatencyService. Using the Copy linkmenu item (in Windows Desktop version) or Share... (in version for Universal Windows Platform and Android), copy the link to Environment and Placement.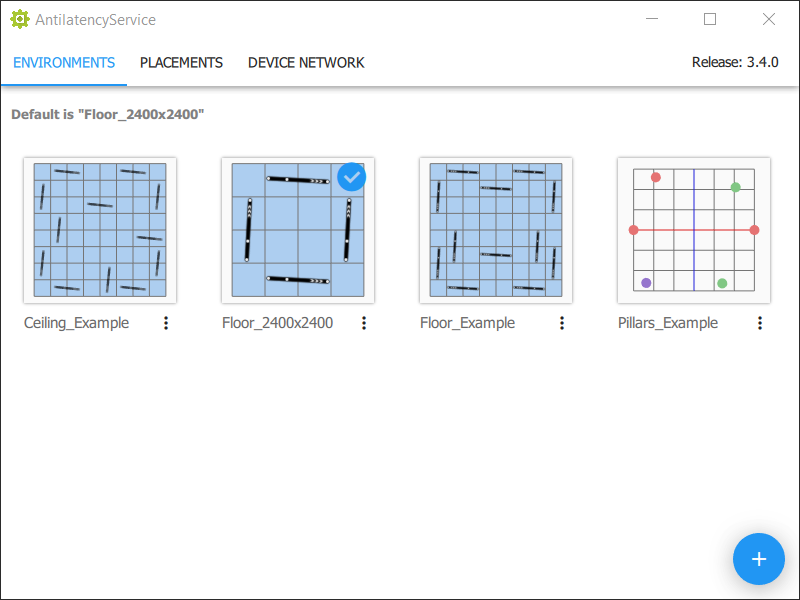
For example, links to Environment and Placement may look like this:
Environment link:
http://www.antilatency.com/antilatencyservice/environment?data=AAVSaWdpZBcABnllbGxvdwQEBAABAQMBAQEDAAEAAD_W&name=Floor_2400x2400Placement link:
http://www.antilatency.com/antilatencyservice/placement?data=AAAAAAAAAAAAAAAAAAAAAAAAAAAAAAAAAA&name=IdentityTo get Environment and Placement data from the links, leave fragments after
data= and before &name=.Below are Environment and Placement data arguments for the
TrackingMinimalDemo:Environment data:
AAVSaWdpZBcABnllbGxvdwQEBAABAQMBAQEDAAEAAD_WPlacement data:
AAAAAAAAAAAAAAAAAAAAAAAAAAAAAAAAAALearn more about working with these kinds of links: Environments
For a standard user to have permissions for working with USB devices, you need to add a udev rule. Run the following command:
echo 'SUBSYSTEM=="usb", ATTRS{idVendor}=="3237", MODE="0666", GROUP="pi"' | sudo tee /etc/udev/rules.d/66-antilatency.rulesAfter that, run
TrackingMinimalDemo, passing the necessary arguments../TrackingMinimalDemo AAVSaWdpZBcABnllbGxvdwQEBAABAQMBAQEDAAEAAD_W AAAAAAAAAAAAAAAAAAAAAAAAAAAAAAAAAAAlternatively, you can run
TrackingMinimalDemo as a root user to work with USB devices.sudo ./TrackingMinimalDemo AAVSaWdpZBcABnllbGxvdwQEBAABAQMBAQEDAAEAAD_W AAAAAAAAAAAAAAAAAAAAAAAAAAAAAAAAAAImmediately after the run, the program will create ADN, find a connected Alt and start tracking.
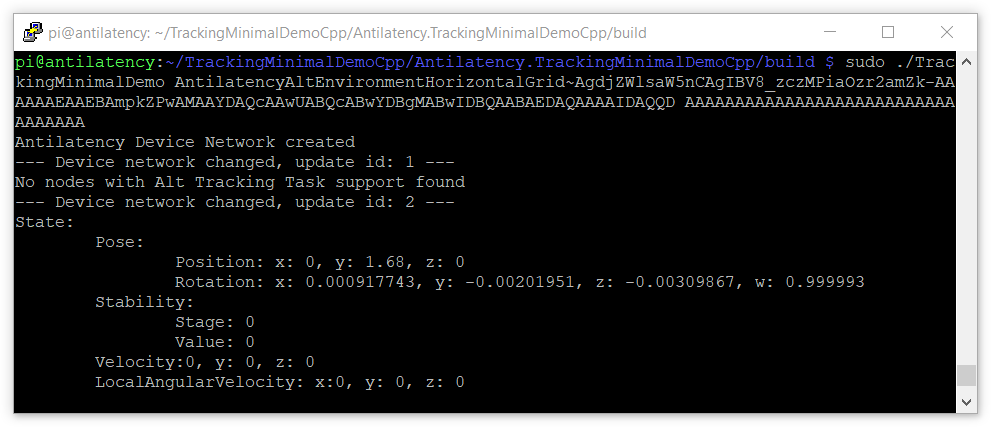
After starting the tracking, the program will request the state of an Alt and output its extrapolated state every 500 ms (2FPS) in the terminal:
- Pose — the tridimensional worldspace pose of the object. Position is in meters, rotation is a LocalToWorld quaternion.
- Stability — an indicator of tracking stability and quality.
- Velocity — a world space velocity vector, measured in meters per second.
- LocalAngularVelocity — an angular velocity vector in the object's local space coordinates, measured in radians per second.
Read more about the kinematic state of the tracked object in the API
State.