Using Antilatency SDK in Unreal Engine
Step-by-step instructions for installing and using the Antilatency SDK in Unreal Engine projects.
In this article
- Antilatency SDK installation;
- Installing as an engine plugin;
The limit for the full path of each file in the Antilatency SDK plugin's folder and its subfolders is 256 characters. Therefore, try to place your project in the shortest path possible, for example
D:\MyUeProject.Antilatency SDK installation
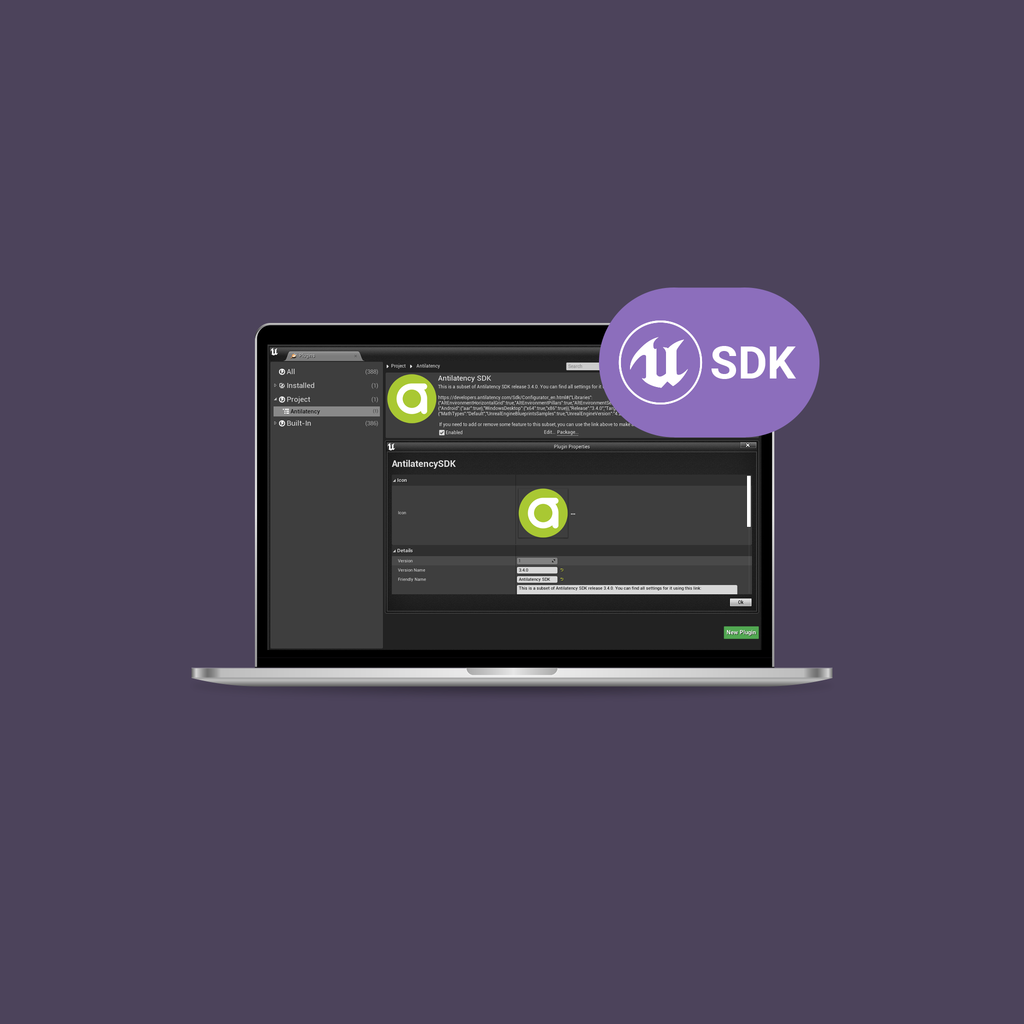
In order to use the Antilatency tracking system in your Unreal Engine project you need to install the Antilatency SDK:
- Generate the subset on the SDK configurator page: select
Unreal Engineas theTargetparameter, the engine version, required components, and Antilatency libraries. - Configure the SDK build. At the end of this step you should end up on the GitHub repository page with a built subset:
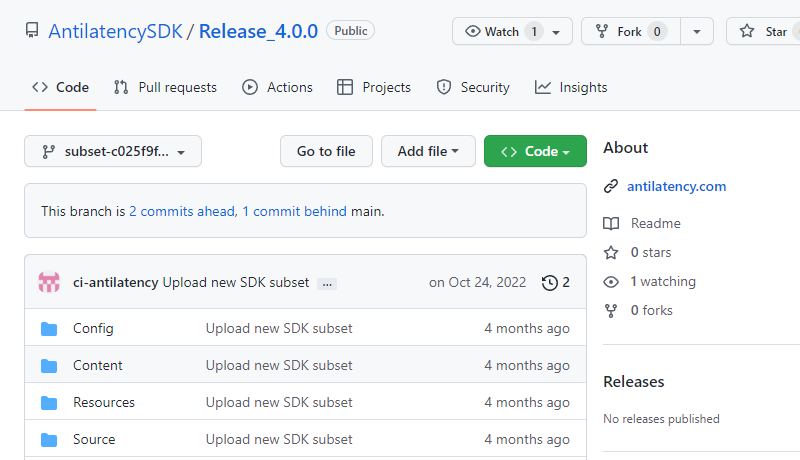
- Go to the directory with the Unreal Engine project and verify that there is a
Pluginsfolder. If there isn’t one, create it. - Clone the repository to the
Pluginsfolder using the provided git command fromREADME.md(or with any other convenient method):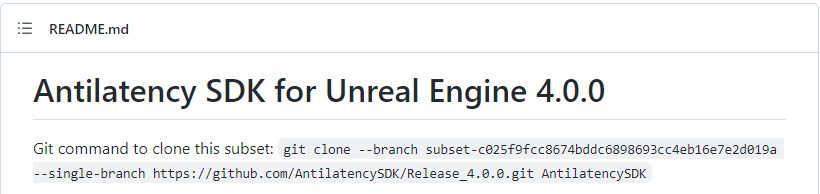
- Open or restart the Unreal project.
- Go to the
Edit⇾Plugins⇾Projects⇾Antilatencytab. Check theEnabledcheckbox and then restart the project: - That’s all! Now you can use the Antilatency SDK in your Unreal Engine project.
Installing as an engine plugin
After the previous steps, the Antilatency plugin will be available only in the project in which it’s installed. To make the plugin available to all projects created in this version of Unreal Engine, you need to plug it as an engine plugin:
- Go to the
Edit⇾Plugins⇾Projects⇾Antilatencytab and press thePackagebutton: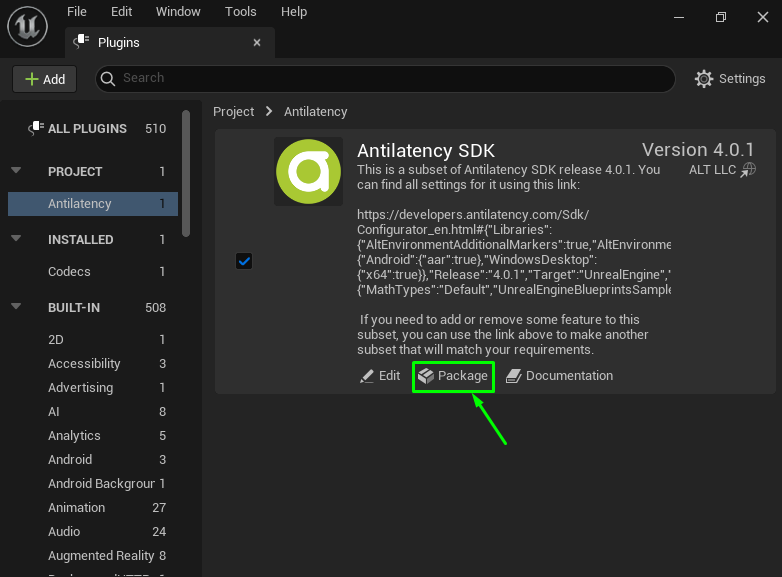
- Wait until the packaging is complete.
- Move the packaged plugin to the Unreal Engine directory:
<path_to_unreal_engine_istallation_dir>/Engine/Plugins/Runtime. The path to theAntilatencySDK.upluginwill look like this:<path_to_unreal_engine_istallation_dir>/Engine/Plugins/Runtime/AntilatencySDK/AntilatencySDK.uplugin - Done! Now the Antilatency SDK is available from any project of this version of Unreal Engine.
Fixing an installation problem
Sometimes when installing a plugin, even with the correct
UnrealEngine Version parameter in the configurator, the following warning may occur: 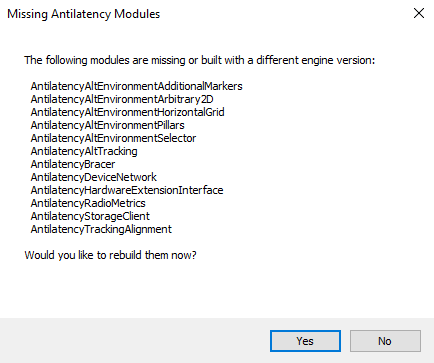
In this case, you need to rebuild the modules for a specific UE version:
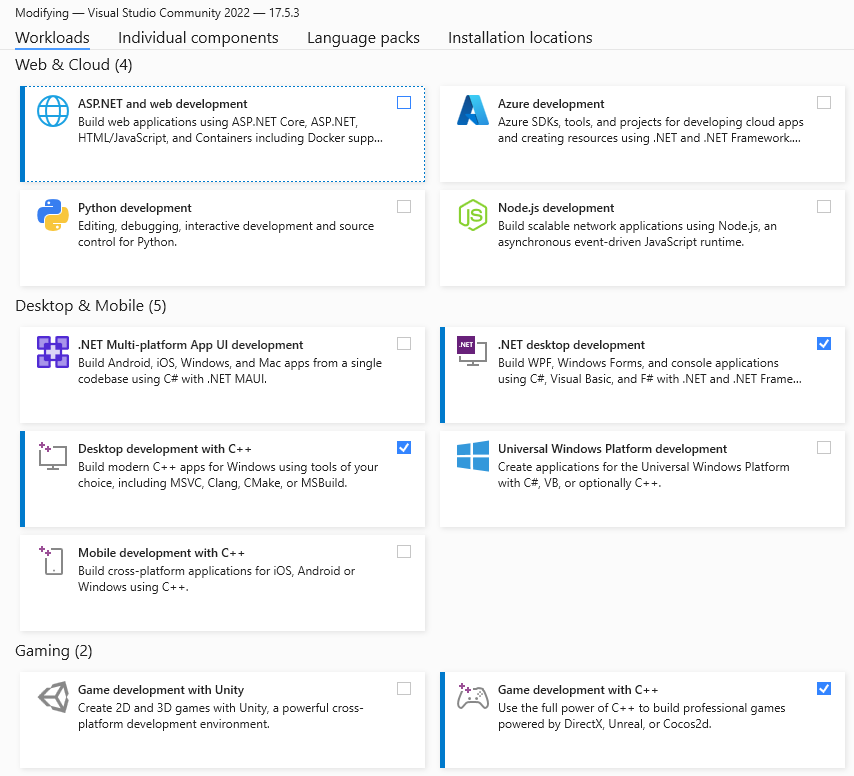
- Install the Visual Studio with the following components:
- Open the project with the
Missing Moduleswarning and answerYesto the"Would you like to rebuild them now?"question. - Wait a bit while Visual Studio rebuilds the modules. After that, the project should start automatically.
Using Antilatency SDK
For the Antilatency system to work, place two Actors that are located in
Antilatency SDK Content ⇾ Blueprints ⇾ Samples ⇾ Actors on the level:BP_AltEnvironment— gets data about the Environment that is set as default in Environments.You can also use theBP_AltEnvironmentWithMarkers, if you want to display markers' position on the scene.BP_AltEnvironment(andBP_AltEnvironmentWithMarkersas well) position on the scene is the origin of the tracking coordinate system.BP_DeviceManager— processes data on connected Antilatency devices.
If Antilatency SDK content isn’t shown in
Content Browser, check the Show Plugin Content checkbox in the View Options tab.Let’s take a look at some specific examples of working with the Antilatency SDK:
DefaultPawn tracking
- Create the new GameMode or open the existing one.
- Go to the
Classestab and in theDefault Pawn Classdrop-down list select the required Pawn fromAntilatency SDK Content⇾Blueprints⇾Samples⇾Pawns(e.g.BP_AltSimplePawn). - Press
SaveandCompileto save changes. - Done! Now during the game the
DefaultPawnwill be tracked by Alt.
Two objects tracking with identification by Tag
Sometimes you need to strictly determine which Antilatency device corresponds to the virtual object on the scene.
BP_AltTrackerTag is the best way to do this.Say you need to track two cameras using two trackers:
- Create an empty Actor on the level and reset its
Locationvalues to default. - Open
Antilatency SDK Content⇾Blueprints⇾Samples⇾SceneComponentsand drag theBP_AltTrackerTagcomponent onto the createdActor. - In this component, in the
Default⇾Socket Tagfield, set the value corresponding to the firstTagproperty from step #1 (in our case,Camera_1). - Add a
Cameracomponent as a child element. - Duplicate the created
Actorand change theSocket Tagfield toCamera_2. - Done! Now two cameras will be tracked by two Alt trackers.
CineCameraActor tracking
- Go to the
AntilatencySDK Content⇾Blueprints⇾Samples⇾Pawns, select theBP_AltSimplePawn, drag it to the scene, and reset itsLocationvalues to default. - Add the
CineCameraActoron the scene and attach it to theBP_AltSimplePawnas a child element. Reset itsLocationvalues to default. - Done! Now when you click
Play⇾F8you can choose theCineCameraActorin theOutlinerand make sure its Transform changes according to the tracking data.
Working with virtual production
For more information on how to install and use the Antilatency tracking system in virtual production projects, watch our video: