How to add the tracking system into ClassX software
This guide describes the combined use of ClassX software (Elitium, LiveBoard XR and Coral XR) and Antilatency tracking system for real-time virtual production.
ClassX provides you with CG solutions such as LiveBoard XR, Coral XR or a turnkey solution "Elitium". Using them with the Antilatency tracking system expands your abilities and allows you to implement:
- target tracking (object or actor). This is a real-time feature that allows you to link a graphic object (a 3D model, a light or a video input layer) to the tracker, and move freely in the tracking area. You can also track an actor moving around a virtual object.In this case you should use PTZ cameras with built-in support for the FreeD protocol.
- dolly camera tracking. A tracker is connected to a camera shooting a scene with virtual objects. This use case is still in development.
How to set up Antilatency for target tracking
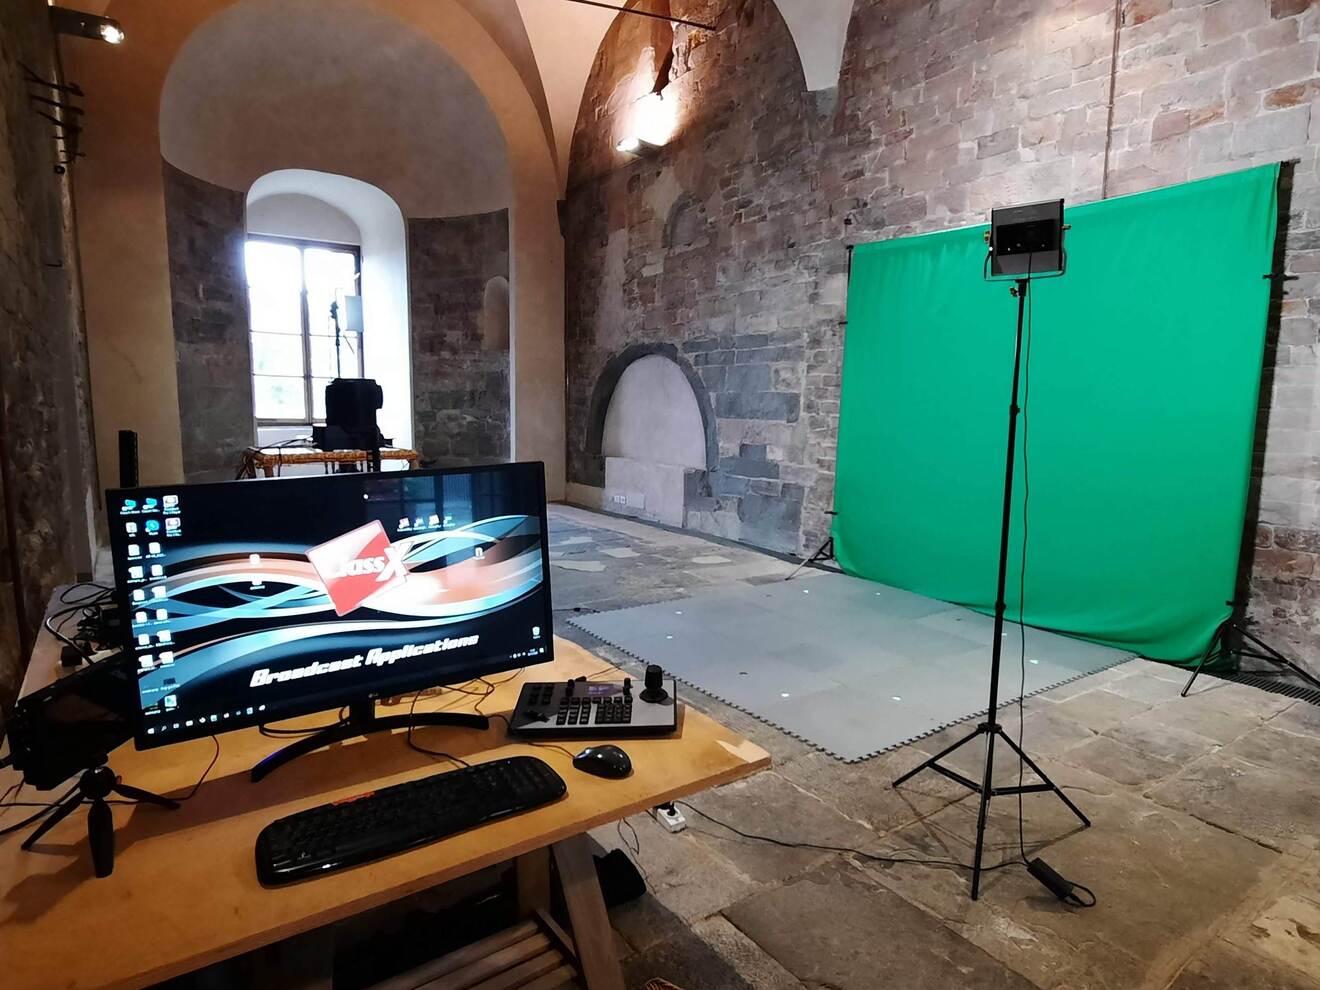
Begin with setting up your Antilatency tracking system:
- Set wireless connection for the sockets you will use (ex. Universal Radio Socket and Tag + Alt), or use a Wired USB Socket.
- Power the Antilatency tracking area and devices on, connect them to the Elitium system.
Now you should configure two connections in ClassX software. The first one is in LiveBoard XR:
- open the Preferences menu and go to the Tracking Manager panel;
- set the HOST id to Antilatency and after, click on the gear icon to configure the FreeD settings to Antilatency;

- select Antilatency in the Preset drop-down menu.
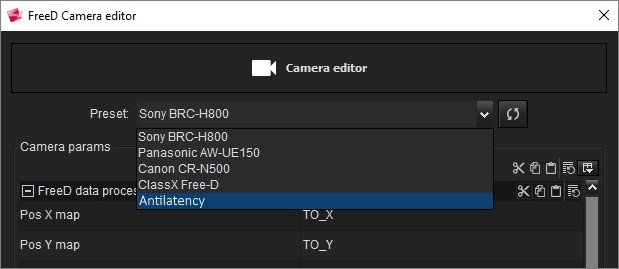 If there is no Antilatency preset, select "Custom" and adjust the parameters according to those set in the AntilatencyService application.
The second connection is the connection of an element in Coral XR with the Antilatency sensor:
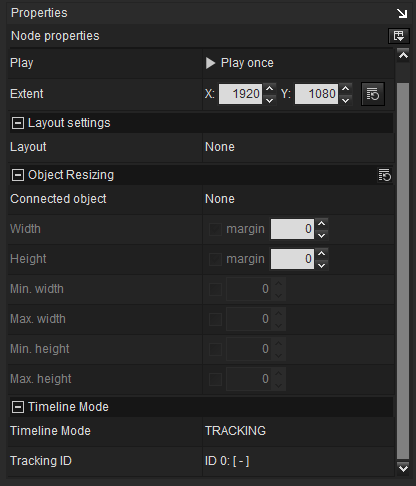
- set the CoralCamera to TRACKING (change the Timeline Mode in the Properties panel);
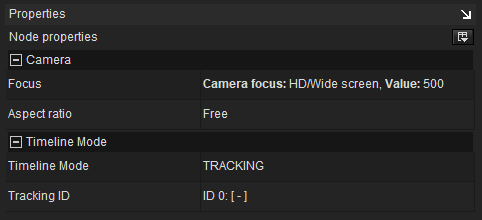
- insert the object in a GROUP;

- in the Properties panel, set the Timeline Mode of the group to TRACKING.
With Coral XR it is possible to import various formats of 3D objects (obj, 3ds, glTF, etc) into the scene and/or use auxiliary video inputs as textures in 3D elements (virtual screens and virtualLED walls) that will be tracked. In Coral XR you can decide which object to connect to the Antilatency sensor. The saved Coral XR project will then be imported into LiveBoard XR into its "Contents Grid" to be played out by the operator. When this template is played out, the 3D object will move inside the scene according to the Antilatency sensor movements done by the person participating in the scene.